Many middle school and high school science classes include dissection lab studies for a variety of animal and/or organ dissections. They can be included in a discussion of human body systems or as an exploration of comparative anatomy during a unit on animal classification.
Dissections labs can be intimidating for teachers and students, although they can be one of the most engaging anatomy activities. So whether you’re teaching a dissection for the first time or just need a little more confidence for the next time, this post has some easy-to-implement tips for running a dissection lab safely and successfully.
Since dissection tools and specimens can pose dangers to students, be sure to follow all of your school and state regulations about PPE and student participation procedures. PPE for dissection lab procedures generally includes goggles, disposable gloves, and aprons. It’s worth having both latex and nitrile gloves in case of allergies.

Ordering Dissection Specimens:
Most teachers order dissection lab specimens and tools from reputable scientific supply companies like Carolina Biological and Flinn Scientific. I have found Home Science Tools to be a good source for homeschool students, as some companies will not deliver to residential addresses. Specimens from these companies can be ordered in a variety of sizes, quantities, and preservative solutions. They can be packaged in sealed plastic bags, jars, or buckets. Although formaldehyde is usually used to initially fix specimens, about 99% of the formaldehyde is then removed and replaced with alternatives made from alcohol or propylene glycol which are safer and have fewer irritating odors. It is still often recommended to rinse specimens before use to remove as much preservative as possible. Some teachers also use fresh organs from local hunters and butchers, but these can have additional safety concerns, so check with your administration and state regulations before using fresh specimens.
When buying prepared specimens, make sure to check:
1) The size of the specimen you’re ordering- I like to save money by purchasing smaller specimens when students aren’t expected to learn the details of the anatomy (worms, crayfish, starfish, squid, etc) and for more detailed dissections (frog, fetal pig, cats, etc), I buy the larger specimens. Preserved organs (kidneys, eyes, brains, etc) generally only come in one size.
2) Whether they are “injected” or “plain”- You’ll find this on some of the vertebrate dissections like frogs and mammals. Injected specimens have red and blue latex injected into the arteries and veins for easier identification. Plain specimens have no injections. If you expect your students to identify specific arteries and veins, it’s useful to have injected specimens. For most biology and life science classes, plain specimens are perfectly acceptable.
Preparing for the Dissection Lab:
Students must be clear on the classroom rules during dissections. I use a dissection lab contract that is signed at the beginning of the year. Be sure to reiterate that although the animals are dead, they are for educational purposes and should be treated with respect.
Ensure that your students are familiar with the tools used in dissections such as scissors, scalpels, forceps, probes, and pins. I use a light-hearted pickle “dissection” lab for students to practice using these tools safely, making detailed drawings of specimens, and following lab directions. Can they ever have enough practice following directions?

If you’re really unfamiliar with dissection, it’s often worth dissecting one specimen before the students do so you know what to expect and how long the dissection might take. Additionally, all of my dissection labs come with video demonstrations that can be used for teacher preparation or absentee students.
Finally, I like to cover tables in newspapers or disposable tablecloths to make clean-up easier. If your specimen is small and doesn’t need to be pinned down, disposable plates or lunch trays can be used instead of traditional dissection trays, which will also make for efficient clean-up.
During Class:
Now that dissection day has come, here are a few pointers for a successful time:
Groups– Dissections are nearly always done in groups or pairs to save money on the number of specimens you need to purchase. If at all possible, I recommend letting students choose their groups. You might have a rowdy group or two that you need to keep an eye on or break up, but I’ve found students are more successful at dissecting when working with familiar friends. Make sure that someone in each group is willing to do the actual dissection.
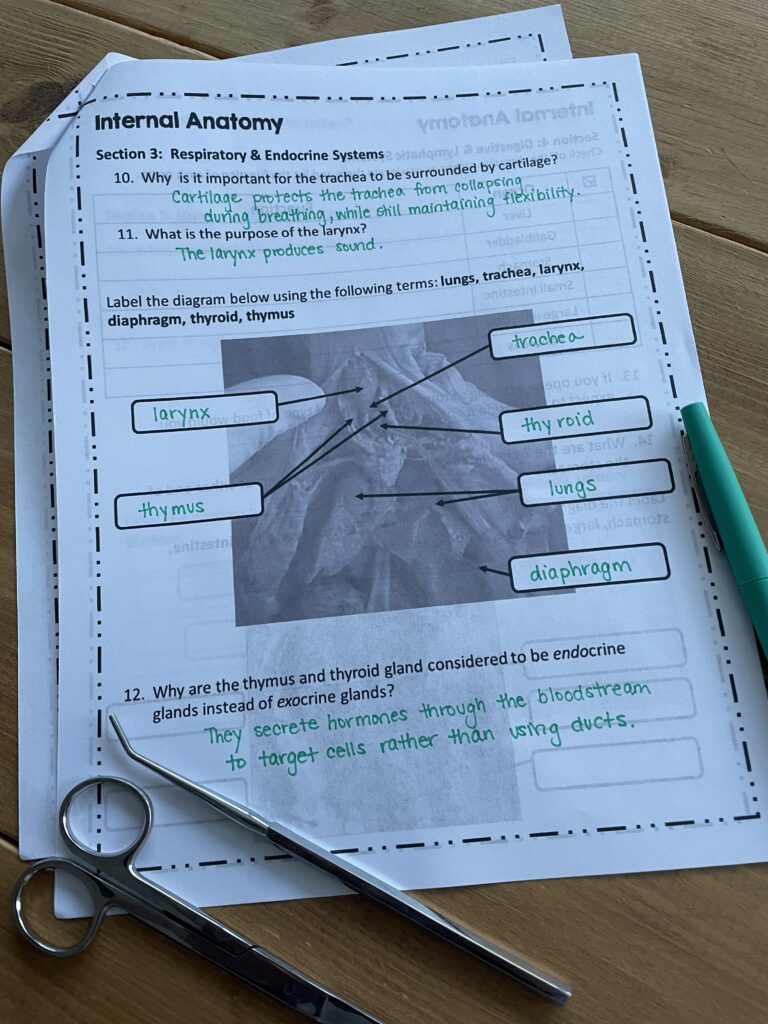
Lab Instructions- I provide written instructions for the whole dissection lab, often with several photographs for reference. This allows groups to work at their own pace, which reduces behavior issues that can arise if some groups accomplish steps more quickly than others. I also have students answer questions on a lab worksheet as they dissect. This slows them down and helps them to analyze the specimen more thoroughly. Always have students examine any external features first, since they may be damaged during the dissection process.

Grading- I always grade dissection labs. I find that knowing they’re being graded forces (most) students to focus and reduces the potential “silliness” that can arise during a dissection lab. In my classes, every student is responsible for turning in a completed lab worksheet. Students with messy hands can have another group member write answers for them, but they will still be graded. Again, holding each student accountable reduces behavioral issues.
If dissection is a very important part of your course, you may want to create a lab practical to assess students afterward. This might involve verbally quizzing students on structures in a specimen or marking structures in several specimens and having students rotate around to each. If you decide to have a lab practical after the original dissection, it’s cost-effective to save a few specimens for this purpose rather than having students dispose of them.
Clean-up:
Many dissections lab procedures extend over more than one class period. If this is the case, I usually just leave the specimens on the trays and have groups cover them with a damp paper towel. You may want to have them write their group members’ names on the paper towel to recognize their specimens the next day. If you need to store specimens for longer than one night, it is a good idea to return them to the bag or bucket they arrived in. Keeping the original fluid in the packaging will prevent them from drying out.
I know some Anatomy & Physiology teachers dissect large specimens over a full semester. Since I haven’t done this type of long-term dissection, I’d recommend checking with the supply company for recommendations on storing specimens this long.
I always post clean-up procedures on the board so students don’t overlook them at the end of the written instructions. Dissection tools should be rinsed and dried, gloves can be thrown away, and aprons and goggles can be sanitized. Newspapers or disposable tablecloths can be used from one class to another but should be thrown away after the last class is finished.
Depending on the preservative used for your specimens, disposal of the actual specimens and fluids will vary. Here are instructions from both Flinn and Carolina Biological, for reference.
Dissection Alternatives:
I am obviously an advocate for dissection in the classroom. Although I certainly understand the hesitation, I have found that students are more engaged in dissections than in other labs and often have a greater appreciation for the complexities of living organisms afterward. Additionally, for students headed to health science fields, dissection provides a unique look at the abstract and hidden anatomical structures they are required to learn and helps them prepare for labs in college and beyond. Alternatives to dissection, however, are often required for absent students or those with personal or religious objections to dissecting preserved specimens.
Here are some resources for those times when you need alternatives to dissection labs:
- Whitman College Virtual Fetal Pig (Free)
- Oh Worm! (Free)
- PBS: Dissection 101 Videos (Free)
- E-mind Dissection Lab Software (about $200 per specimen)
- Froggipedia App ($3.99)
- Biosphera– software models for various animals ($25-$100 for a multiuser license)
- Biodigital– software for human anatomy (free 14-day trial)
The National Association of Biology Teachers (NABT) acknowledges that although virtual dissection simulations have drastically improved in recent years, “these alternatives are not without limitations. Utilizing a software-only approach may constitute a disservice to many students and does not acknowledge the well-documented educational benefits of hands-on dissection.”
Although traditional dissections labs are still the standard in many high school classrooms, new, synthetically produced animal and human organ models may help bridge the gap between virtual dissection alternatives and real specimens. I recently received a synthetic frog to test out. Regardless of the type of dissection labs you plan to use in your Anatomy or Biology classroom, I hope these teaching tips will help you prepare for them.


